
Form Lamination: How Curved Solid Wood Floor Lamps Are Made

Curved shapes in solid wood seem almost impossible, after all, no tree grows in an arc. What makes it possible is a traditional technique: form lamination, also known as bent lamination. In this article we show you step by step how we use this method to make our curved solid wood floor lamps, using our Solara floor lamp as an example. There are also tips in case you would like to try form lamination yourself.
At a glance
- Form lamination means thin wooden laminates are bent in a jig and glued together.
- The tighter the curve, the thinner the laminates need to be.
- The wood must be dry, ideally with a moisture content of around 8 to 10 per cent.
- Once glued, the wood holds its shape permanently and stays stable.
What is form lamination?
In form lamination, solid wood is cut into thin laminates, coated with glue and bent into the desired shape under pressure in a jig. Once the glue has cured, the laminates hold each other in the curve. The result is a curved workpiece made of real wood, in which the wood fibres follow the arc.
The technique is old and versatile: you find it in boatbuilding, staircase construction, furniture making and, of course, in lighting. In our home accessories we combine this traditional craft with a modern, pared-back design.
Form lamination step by step
1. Planning and drawing
The foundation of every form lamination is precise planning. Work out the thickness, width, length and radius of the curve in advance and record everything in a technical drawing. Remember that you will plane and sand the surface later, so allow for some extra material.
Once the planning is complete, create a 1:1 layout for the jig. It must reproduce the desired curve exactly, because that is precisely how the blank will look later.
Tip: wood always springs back slightly after being released from the jig and does not match the form 100 per cent. Take this into account in the drawing.

2. Building the jig
Every shape needs its own jig. A thick, sturdy board makes a good base plate, we use a 24 mm OSB board. It must be long enough for the planned workpiece. Following the drawing, wooden blocks are placed on it along the bending line, over which the laminates will later be clamped.
The blocks must be screwed down very firmly, because clamping the laminates generates a lot of pressure.

3. Choosing the right wood
One of the most important points is the choice of wood. For form lamination the wood must be well dried, ideally with a moisture content of 8 to 10 per cent. Laminates with cracks or lots of knots are unsuitable because they can break when bent. We prefer to use wood with vertical growth rings (quarter-sawn), as the laminates then carry less tension.
Tip: if you buy wood, find a reputable timber merchant and pay particular attention to moisture content and the run of the growth rings.

4. Cutting the laminates
From the dried planks we cut even laminates using a thin, sharp saw blade. This keeps waste to a minimum, and the cut faces are ready for gluing straight away.
The thickness of the laminates depends on the bending radius: the tighter the curve, the thinner the laminates. For the moderate curve of our Solara floor lamp we use laminates 8 mm thick. If you have no way of sawing them yourself, you can also buy ready-made laminates, but then pay close attention to their quality and condition.

5. Gluing
The laminates are generously coated with wood glue, stacked on top of each other, pressed into the jig and fixed with clamps. The following applies:
- Clamp from the centre outwards, so that the laminates settle evenly against the form.
- Use enough clamps: wood glue only bonds well under pressure, so there should be a clamp roughly every 5 to 10 cm.
- Watch for glue squeeze-out: if small beads of glue form at the joints as you tighten the clamps, the amount of glue is right.
Tip: first lay the laminates in the jig once without glue and check that the bend works. Do not apply too much pressure, or the thin laminates may break. This calls for a delicate touch.

6. Finishing
Once cured, the blank is removed from the jig. Planing, routing and sanding give it its final shape and surface. Which steps are needed depends on its intended use. For our floor lamps, this is followed by the recess for the LED technology and the surface treatment.
Advantages of form lamination
| Form lamination | Sawn from solid | |
|---|---|---|
| Grain direction | Follows the curve | Cut across the grain in the arc |
| Stability | High, the laminates support each other | Lower where the grain is short |
| Material use | Little waste | A lot of waste due to wide blanks |
| Range of shapes | Gentle curves to tight arcs | Limited by the plank width |
Form-laminated components are therefore stable, true to shape and resource-efficient. At the same time, the natural grain of the solid wood remains visible.
Form lamination and handcraft on NDR
The feature on our solid wood lamps by the NDR magazine Nordtour also offers a look inside our workshop in Kiel. There you can see how our lights are made by hand.

Handcrafted in Kiel: the whole story
Watch the video now in the NDR media library →
Curved solid wood floor lamps
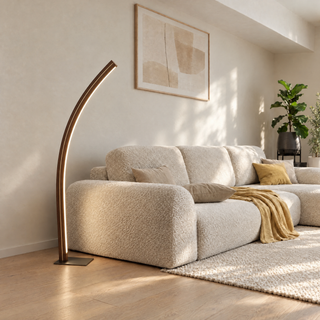
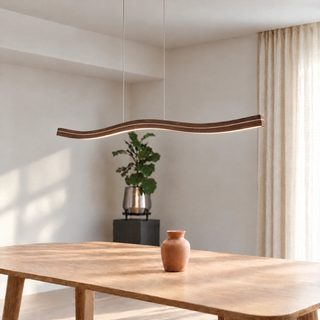
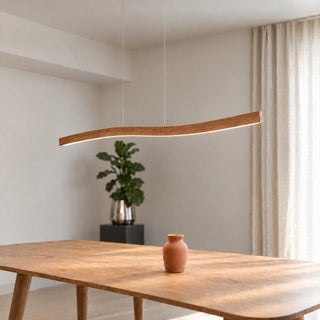
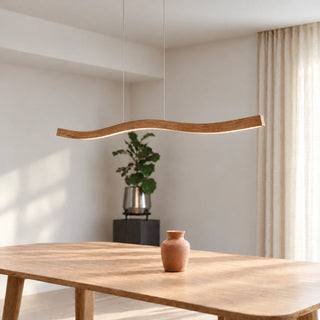
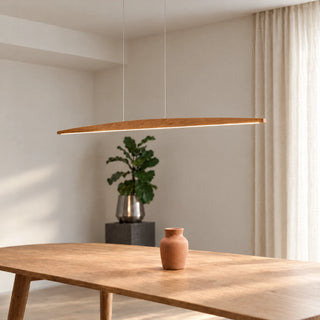
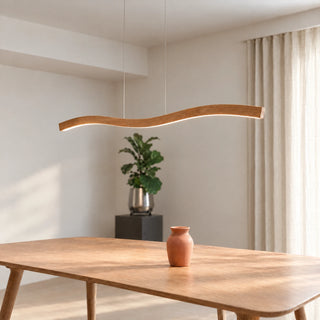
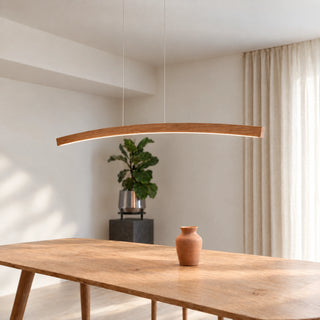
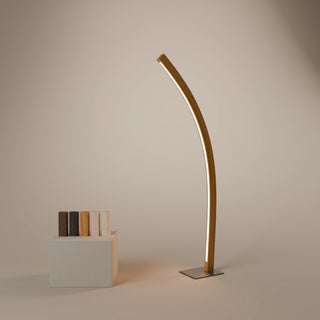
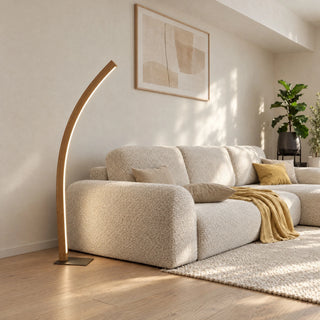
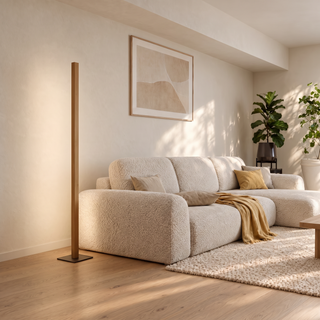
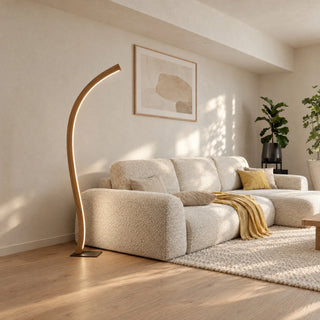
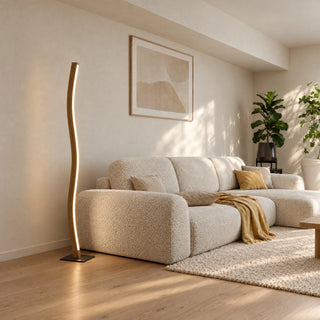
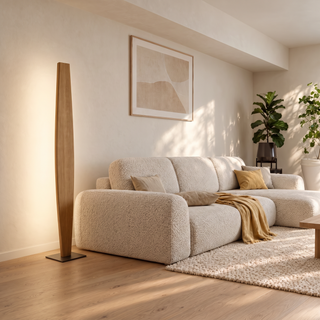
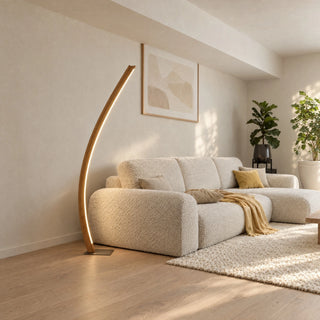
Form lamination lets us create floor lamps with gentle curves and striking arcs that direct light into the room in a special way. Every lamp shows its own grain and is therefore one of a kind. Examples include our Solara, the curved Candor and the double-curved Fulgor. You can find all models in our Wooden floor lamps category.

From our workshop
In the mood for real wooden light?
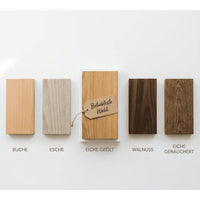
We make all our lights by hand from solid wood in our workshop in Kiel. See for yourself, even beforehand with a free wood sample.
Read more